Processingでイラレから出力したSVGを使う
Processingで全自動生成したいところですが、自分の気にいったパーツを使いたいというときもあるハズ。
ということで、ProcessingにSVGファイルを読み込ませて、複数個ランダムな位置・大きさ・角度にしてみました。
イラレから書き出すときに設定に気をつけないと、Processingで読み込んだときにいちばん下にあるパーツの形しか表示してくれませんでした。色も抜け落ちます。
まずはIllustrator(CC2017)から下記の設定でSVGを書き出します。

ファイル→書き出し→書き出し形式でSVGにすればOKです。背景というかアートボードを白の状態にしていても、Processingで読み込んだときにちゃんとオブジェクトのみ表示してくれます。
このことが分かりやすいように、Processingの背景を黒にしています。
実際読み込むSVGファイルがこれ。

今回の結果がこれです。

書き出した後はProcessingに移り、下記を入力します。
PShape s1;

int x,y; //位置ランダム
float r;//大きさランダム


void setup() {
  size(600, 600);
   background(0);
   noLoop();
 smooth();

//SVGファイル
  s1 = loadShape("test6.svg");
}


void draw() {
    background(0);


   for (int i = 0; i < 10; i++) {

       r = random(42.71,170.87);
    x = int(random(0, 600));
  y = int(random(0, 600));
  //回転
  s1.rotate(random(0,359));
  shape(s1,x,y,r,r);

}
}


void mousePressed() {
      redraw();// ボタンが押されたら再描画
}
Processingで集中線を描く
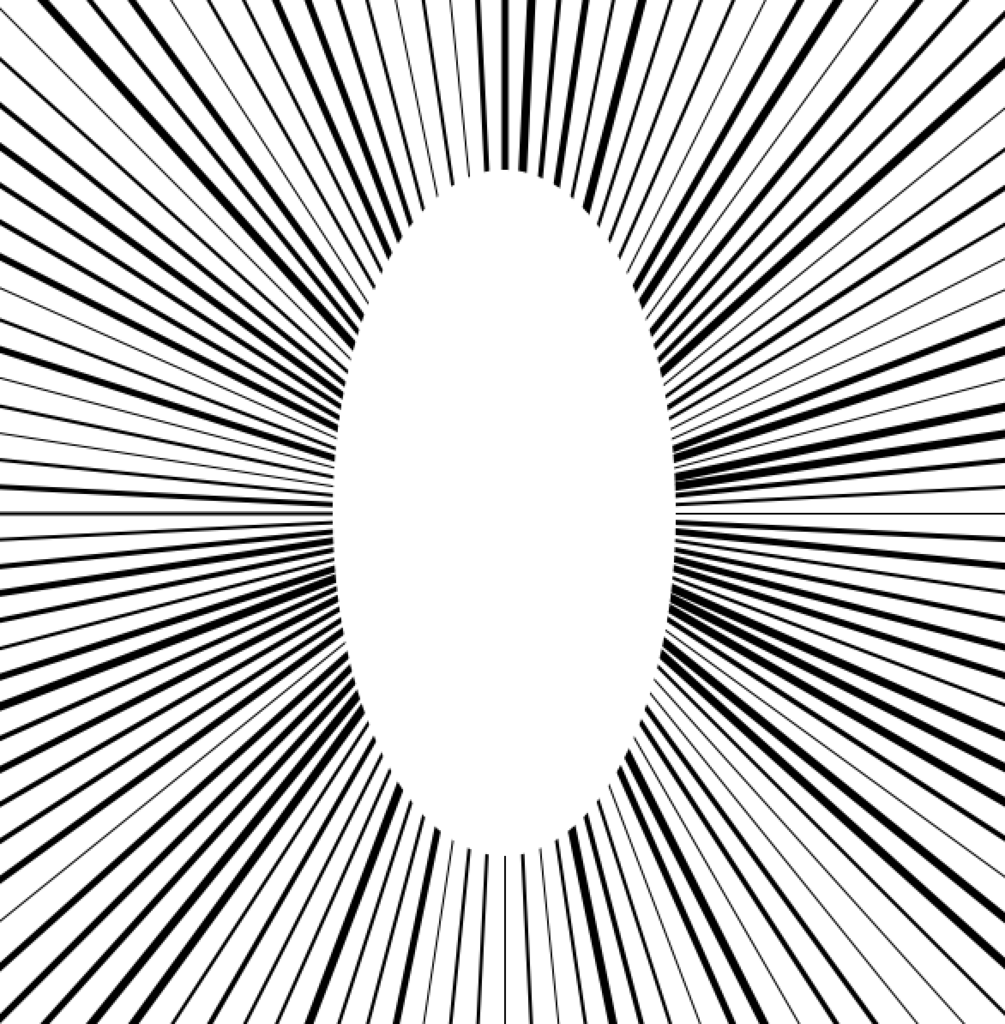
集中線はあまり使わないかもですが、線を一定角度回転させるということはありそうなのでメモです。
太さをランダムに、そして線の角の種類を変えることで、集中線っぽくしてます。

//角度。小さくすると密度が増える
int angle = 3;


void setup() {
  size(600,600);
 noLoop();
}

void draw() {
  background(255);
  translate(width/2.0, height/2.0);
  pushMatrix();
  for (int i = 0; i < 360/angle; i++) {

    //中心が原点で、角度ぶん回転させてる
  rotate(radians(angle));
  stroke(0);
  //線の太さをランダムにすることで、集中線っぽさを出す
  strokeWeight(int(random(1,6)));
  //線の角が四角になるように
  strokeCap(SQUARE);
  line(0, 0, 400, 400);

}

  noStroke();
  fill(255);
   ellipse(0, 0, 200,400);
 popMatrix();
}
Processingで紙ふぶきを描く
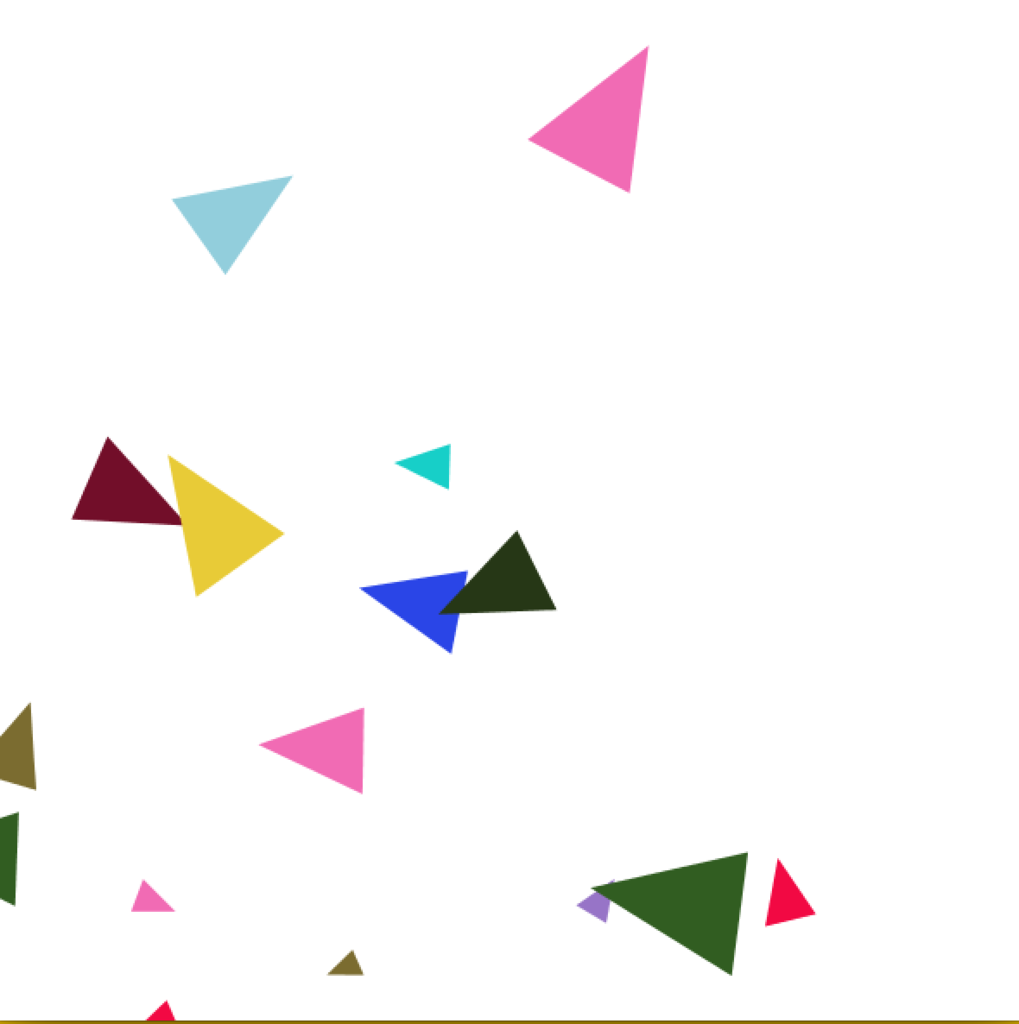
よくイラストで飛んでる三角形です。
色数多すぎたかも・・・完全に形までランダムだといびつになったりするので、欲しい三角形の形を拡大縮小と回転させたほうがよさげです。

int tx,ty;
//三角形の数
  int triangleCount = 20;

//最大個数分、または色のパターンの数配列を用意する
 int[] colt = new int[triangleCount];

 color[] colarray =
{
#263716,#f16343,#9774c7,#7b6c30,#f32cd5,#e4dfb2,#17cfc8,#8bac33,#315d21,#eee9e6,#e8cb37,#f16bb4,#92cedc,#2a45e7,#720e29,#f20943,#ffffff
};

void setup() {
  size(600,600);
   background(255);
   noLoop();
    smooth();
}

void draw() {
  background(255);
   for(int c = 0; c < colt.length; c++){
  //色の乱数生成、小さい三角。ランダムの数値は色の種類の数
  colt[c] = int(random(17));
}


  //0から600の間で、triangleCountの個数分ランダムに描く。実際はtranslateでランダムに移動させている
 for (int n = 0; n < triangleCount; n++) {
   noStroke();
fill(colarray[colt[n]]);
   tx = int(random(600));
  ty = int(random(600));
  sankakuR();
}


}

void sankakuR() {
  pushMatrix();
  translate(tx,ty);
  //拡大縮小
  scale(random(0.5,3.0));
  //回転
  rotate(radians(random(359)));

  triangle(29,36,11,62,43,56);
   popMatrix();


 }

void mousePressed() {
      redraw();// ボタンが押されたときだけ実行
}
Processingでコロナみたいなのを描く
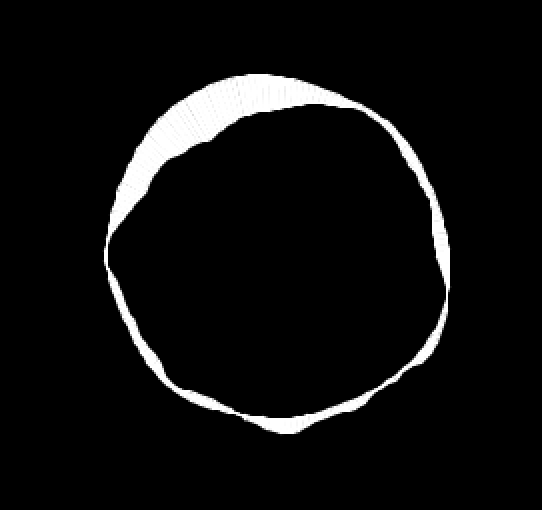
ロマサガ3の死食(日食)っぽい?
こちらfrilly ring - OpenProcessing
でProcessing.jsのモードになってたので、P5モードかつマウスクリックでランダムに形が切り替わるようにしました(ので変数名変えてないです)。
参考にさせて頂きました。ありがとうございます。
あまりコード変わってないですが、P5でやりたい方のお役に立てば。

float r1,r2,radian;
float nScale = 0.003;

PVector nOffset1,nOffset2,v1,v2;


void setup() {
 size(600, 600);
  background(255);
noLoop();

}

void draw() {

    background(0);


    nOffset1 = new PVector(random(10000), random(10000));
  nOffset2 = new PVector(random(10000), random(10000));

  translate(width / 2, height / 2);
  beginShape(QUAD_STRIP);
      stroke(255);
    fill(255);
  for(float angle = 0; angle <= 360; angle += 2) {
    radian = radians(angle);
    v1 = new PVector(100 * sin(radian) * nScale, 100 * cos(radian) * nScale);
    v2 = new PVector(300 * sin(radian) * nScale, 300 * cos(radian) * nScale);

//サイズを小さくしたいときは、r1とr2の50,125のあたりをいじるとOK(元は100, 250)
    r1 = map(noise(v1.x + nOffset1.x, v1.y + nOffset1.y, 30 * 0.01), 0, 1, 50, 125);
    r2 = map(noise(v2.x + nOffset2.x, v2.y + nOffset2.y, 30 * 0.01), 0, 1, 50, 125);
    vertex(r1 * sin(radian), r1 * cos(radian));
    vertex(r2 * sin(radian), r2 * cos(radian));


  }
  endShape();


}

void mousePressed() {

      redraw();// ボタンが押されたときだけ再描画

}
Processingで折れ線グラフみたいなのを描く
折れ線グラフ的なものが欲しかったので、作ってみました。
こちらneralt.com
を参照させて頂きました。
イメージ背景に使えそうですね。
こんな感じです。

三角形やらと組み合わせると、こんなのもできます。

  color[] colarray =
{
#fdf4ac,#3de3d6,#b564c5,#f1709c,#ffbe8e,#413d79,#ffffff
};

int graphx,graphy;

void setup(){
  size( 600, 600 );
  background(255);
  smooth();
  noLoop();
}


void draw(){
   background(255);
 beginShape();
  for (graphx = 0; graphx < width; graphx+=20) {
    graphy = int(random(100,300));
    noFill();
    stroke(colarray[(int)random(7)]);
strokeWeight(3);
    vertex(graphx,graphy);

    ellipse(graphx,graphy,5,5);
ellipse(graphx,graphy,10,10);


  }

 endShape();
}

void mousePressed() {

      redraw();// ボタンが押されたときだけ再描画

}
Processingで3Dの立方体に簡単にテクスチャをつける
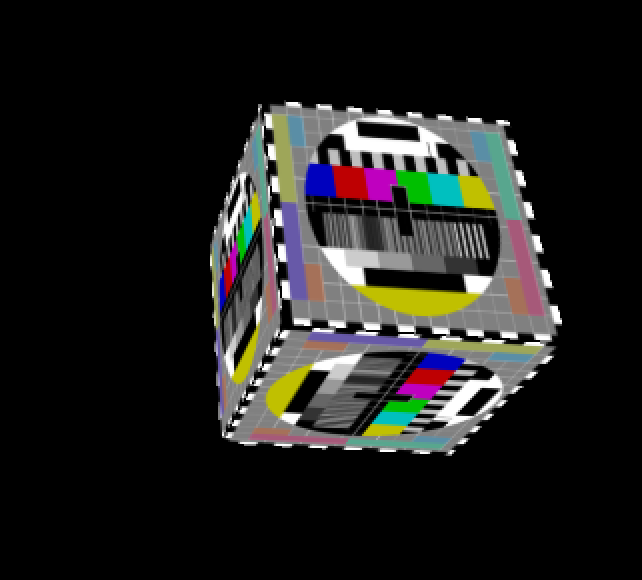
本家ではvertexを使ってテクスチャを生成してますが、それテクスチャの形ごと作ってるだけやんと思い、もっと簡単な方法がないか調べてみました。
下記のサイトを参照させて頂きました。
OpenGLまで探してたので、単にboxでできることが分かってよかったです。
テクスチャを使う場合はfillは設定しないのがベターです。透過してヘンな色になります。

PImage img;
PShape box;


void setup(){
  size(600, 600, P3D);
  smooth();

//テクスチャ
  img = loadImage("testpattern.png");
}

void draw(){

   background(0);
   pushMatrix();

translate(400,300,100);
box = createShape(BOX, 100);

  box.setTexture(omg); //テクスチャ
rotateX(map(mouseY, 0, width, -PI, PI));
  rotateY(map(mouseX, 0, width, -PI, PI));
shape(box);
 popMatrix();

}
Processingで作った画像をPNGとPDFで書き出す
よく忘れてしまうのでメモです。
redraw(); を使っている場合はredraw();を書いた箇所によってはエラーになったり、何も描画されてないことになったりするので注意です。
こちらprince9.hatenablog.com
のコードでできた画像をPDF書き出ししてみました。
PDFで書き出すと、イラレで編集ができます。
SVGはredraw(); を使うとあまり上手くいかないみたいです。
スペースキーで書き出しができます。
//PDF書き出し用ライブラリ
import processing.pdf.*;


int count;//ファイル名用変数

//最大個数分、または色のパターンの数配列を用意する
  int[] col2 = new int[25];//大さい三角パーツ

 //大きい三角の位置
  int triPx2;

 //大きい三角形の数
 int triPcount2;

 //色のパターン
 int pt2col;

  //基本の三角形の大きさ
int mosaicSacle;


//色の種類ぶんだけ配列をつくる
 color[] colarray =
{
#ed621c,#e81c44,#abcf2d,#5fb734,#874195,#01449d,#45bcca,#f6c620,#898989,#ffffff
};

void setup() {
  size(600,600);
 noLoop();

 //基本の三角形の大きさ
   mosaicSacle = 20;
}

void draw() {
  background(255);

   for(int c2 = 0; c2 < col2.length; c2++){
  //色の乱数生成、大きい三角。ランダムの数値は色の種類の数
  col2[c2] = int(random(10));
}


//三角パーツ大
triBig();
}

void mousePressed() {
  beginRecord(PDF,"pattern"+count+".pdf");

      redraw();// ボタンが押されたときだけ再描画

}

//スペースキーでPDFとPNG書き出し
void keyPressed() {

  if ( key == ' ' ) {
     save("pattern"+count+".png");
     count++;

        endRecord();
        }

  if (key == 'q'){
        exit();
}

  }

//図形の数や位置を設定
void triBig() {
 //三角形の数
    triPcount2 = int(random(1,6));
     //ランダムに算出された数ぶんだけ三角を描写
  for (int i2 = 0; i2 < triPcount2; i2++) {
     //これで1色ずつ色を変える(重複あり)
    for (pt2col = 0; pt2col < triPcount2; pt2col++) {
    //三角形の位置をランダムに
   triPx2 = int(random(1,15))*40;
   //三角形描写
 triBigpt();
}
}
}

//実際の図形の設定
void triBigpt() {
  pushMatrix();
  translate(triPx2,300);
  noStroke();


  fill(colarray[col2[pt2col]]);
  triangle(mosaicSacle/2, mosaicSacle/2,  0, mosaicSacle, mosaicSacle, mosaicSacle);
  fill(colarray[col2[pt2col+1]]);
  triangle(mosaicSacle, 0,  mosaicSacle/2,mosaicSacle/2 , mosaicSacle, mosaicSacle);
  fill(colarray[col2[pt2col+2]]);
  triangle(mosaicSacle, 0,  mosaicSacle+10, mosaicSacle/2, mosaicSacle, mosaicSacle);
   fill(colarray[col2[pt2col+3]]);
  triangle(mosaicSacle+10,mosaicSacle/2,mosaicSacle,mosaicSacle,mosaicSacle*2,mosaicSacle);

  popMatrix();
}